✏️ 阅读汪明Go并发编程实战第11章做的笔记
1. 生成证书
课本上是在windows上用openssl生成的,但我这为了方便,在Linux上生成使用
1
| openssl genrsa -out server.pem 2048
|
genrsa用于生成RSA私钥,不会生成公钥,-out server.pem 将生成的私钥保存到server.pem,2048指的是要生产私钥的长度,不指定就是1024
1
| req -new -x509 -key server.pem -out server.crt
|
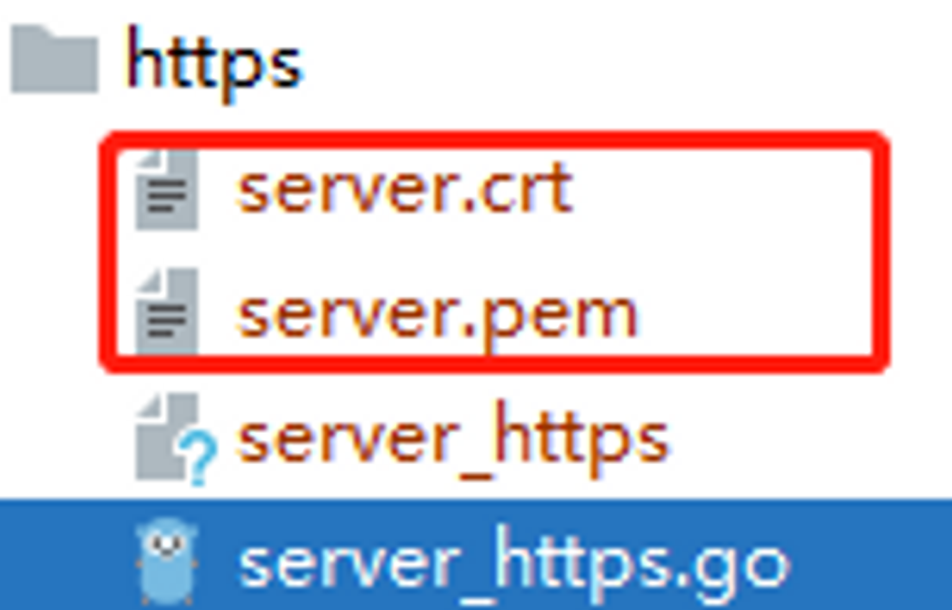
req命令用于生成证书请求文件,查看验证证书请问文件或生成自签名证书,-new说明生成证书请求文件,-x509说明生成自签名证书,-key指定已有的私钥文件,只与生成的证书选项new搭配使用,-out指定的生成证书请求或自签名证书的文件名。生成文件后,将文件下载下来,拷贝到https项目目录

2. 编译
示例程序:
1
2
3
4
5
6
7
8
| func handler(w http.ResponseWriter, r *http.Request) {
fmt.Fprintf(w, "hello Go https")
}
func main() {
http.HandleFunc("/", handler)
http.ListenAndServeTLS(":443", "server.crt", "server.pem", nil)
}
|
程序是在windows下写的,需要交叉编译, 详细的可以参考
1
2
3
4
5
| E:\go-web-exercises>SET CGO_ENABLED=0
E:\go-web-exercises>SET GOOS=linux
E:\go-web-exercises>SET GOARCH=amd64
E:\go-web-exercises>cd https
E:\go-web-exercises\https>go build server_https.go
|
3. Linux上运行
将编译好的程序扔到Linux上
1
2
| [root@centos8 ~]# chmod +x server_https
[root@centos8 ~]# ./server_https &
|
查看一下
1
2
| root@centos8 ~]# ps -ef|grep server_https
root 39150 5062 0 23:04 pts/1 00:00:00 ./server_https
|
4. 客户端访问
浏览器直接输入https://192.168.44.132/, 会弹出来经常看到的不安全啥的,问是否继续访问,显示继续就可以了

也可以用postman测试,第一次也是会有一个,根据提示disable掉就可以请求了

